The major component groups are shown below. The Menu Bar, Map View, and Status Bar will also be present. However the Panels and Toolbars are highly customizable. To read more about the different components of the GUI, visit the QGIS documentation here.

Activity – Configuring your GUI
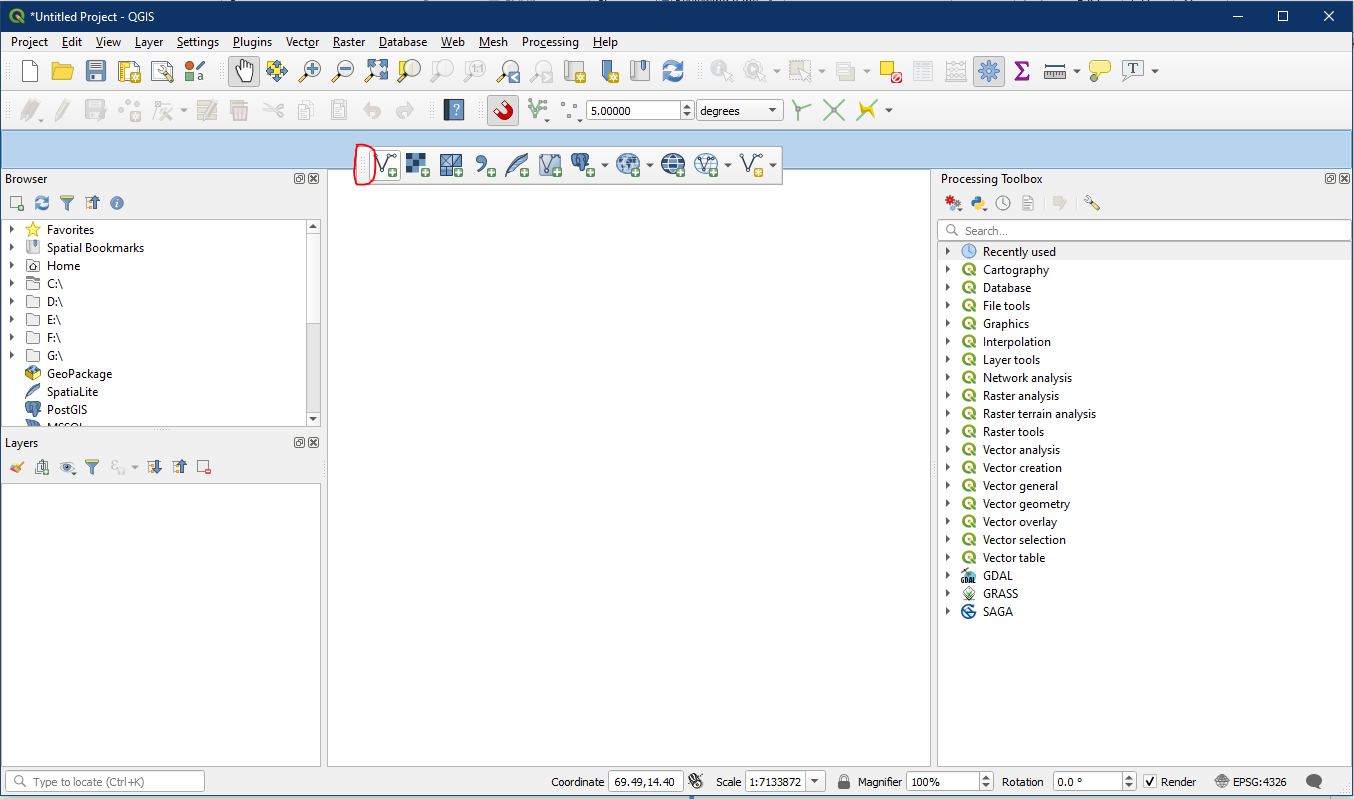
QGIS has many toolbars and panels that can be turned on and off based on personal need. They can also be moved to different places within the GUI.
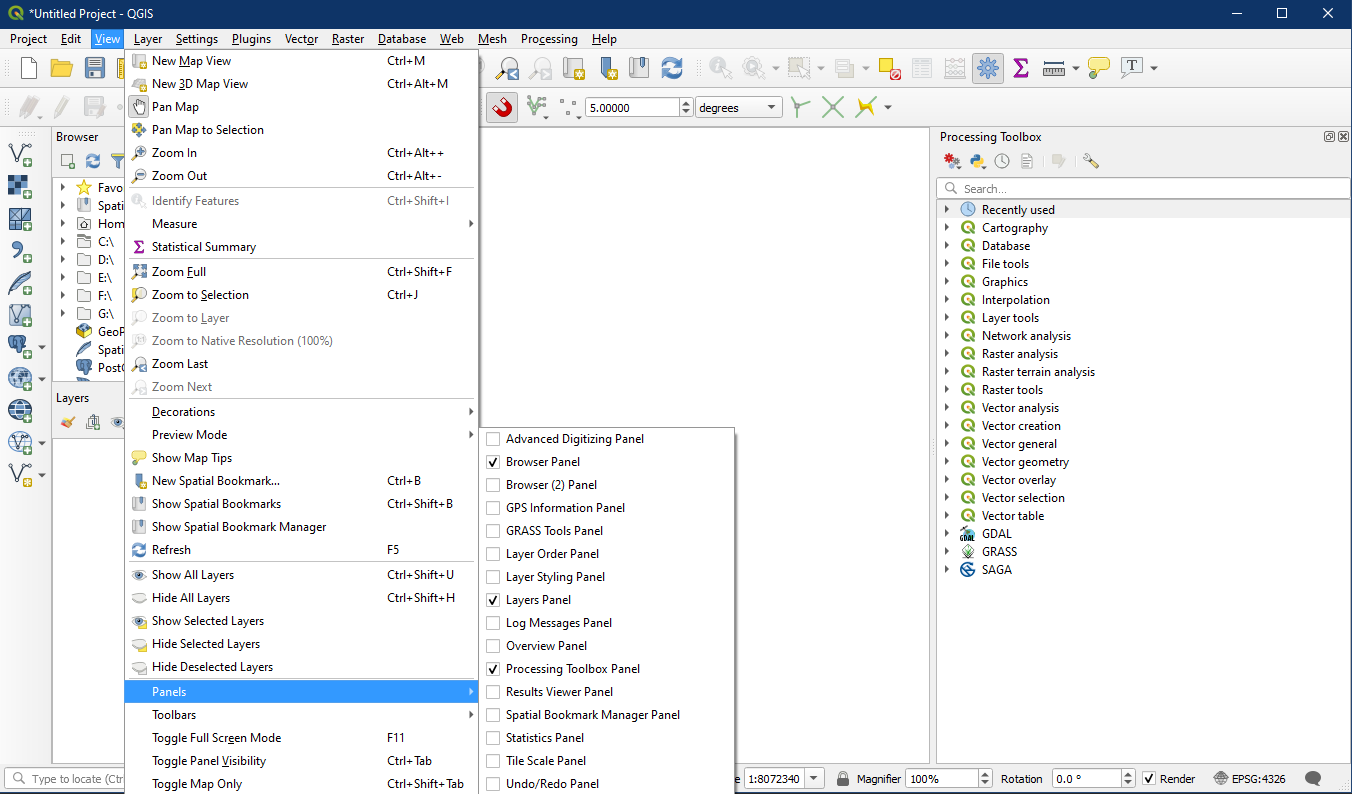
Click on the Menu > View > Panels and check the following panels:
- Browser Panel
- Layers Panel
- Processing Toolbox Panel
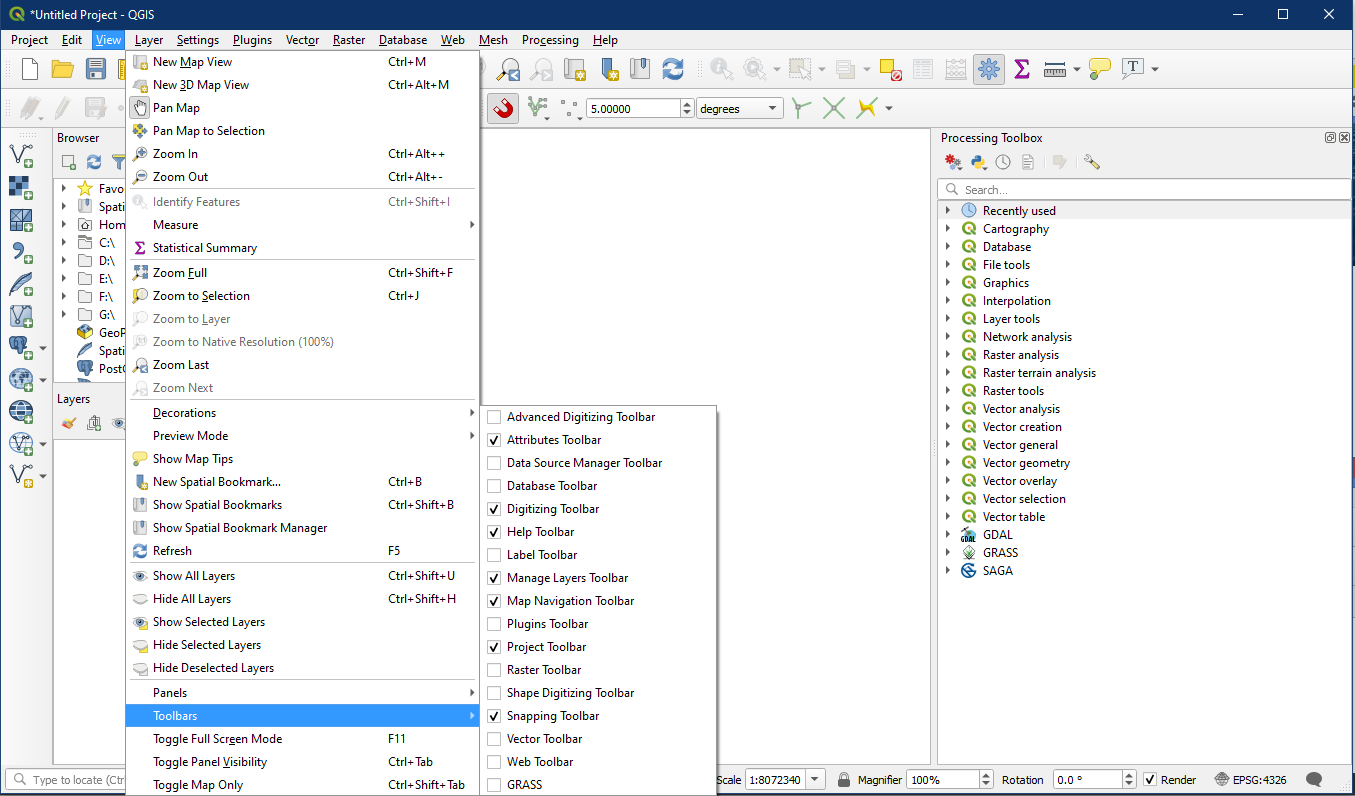
Then click on Menu > View > Toolbars and check the following toolbars.
- Attributes
- Digitizing
- Help
- Manage Layers
- Map Navigation
- Project
- Selection
- Snapping
These are the main toolbars and panels we will need for this class. Feel free to click the other choices and see how the GUI changes.
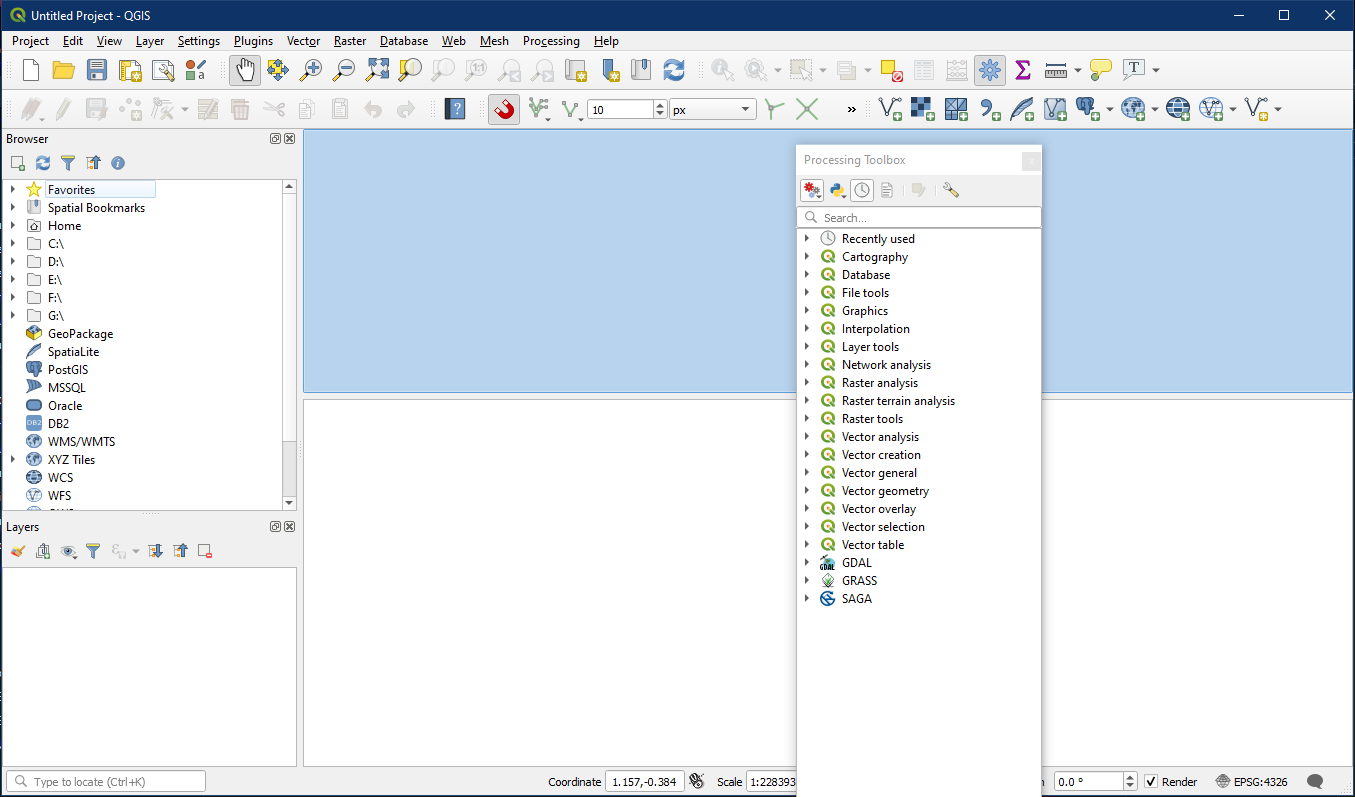
Now that you have your tools and panels selected you may find it advantageous to configure them by dragging the panels around using the top border. You will notice you can have them float, or you can place one above the other on the left side of the GUI. If you pick one and place it over the other near the middle of the other panel they will lie on top of each other making the toggling between the Layers Panel and Browser Panel possible. Toolbars can be moved using the dotted section at the end, and panels can be moved by dragging any blank space.