Introduction
GPS receivers are commonly used for collecting geospatial data. QGIS provides tools for both
- Downloading data directly from a GPS receiver, and
- Importing data files that have been collected with a GPS receiver.
This tutorial outlines the process of downloading data that has been collected with a GPS receiver, storing that data as a .gpx file and then importing the data into QGIS.
Some GPS Fundamentals and Terminology
- A point location recorded and stored by a GPS receiver is called a waypoint.
- A GPS receiver can be set to record your location continually as you move. This results in the storage of a track.
- Users can create and store routes on their GPS receivers. A route is a sequence of linked waypoints. Typically a user creates a route as tool for navigation.
GPS receivers will automatically associate some attribute information with stored tracks and waypoints, e.g. date and time the track or waypoint was collected. Receivers will also allow the user to associate attribute information with stored tracks and waypoints, e.g. the user can name the track or waypoint. Different GPS units use different methods to assign this attribute information.
Step 1 – Accessing data from a GPS receiver and save the data in a .gpx file
Note: If you already have your GPX file then skip to step 2.
Once you have collected the waypoint and track data with a GPS receiver you need to transfer it from the receiver to a file on your computer. GPS manufacturers use a wide variety of formats for storing the waypoint, track, route information on their devices. A single manufacturer may even use different formats for different devices. One of the challenges of using the data collected with a GPS receiver in a GIS application such as QGIS is translating that data from its native format into a format that the application can recognize.
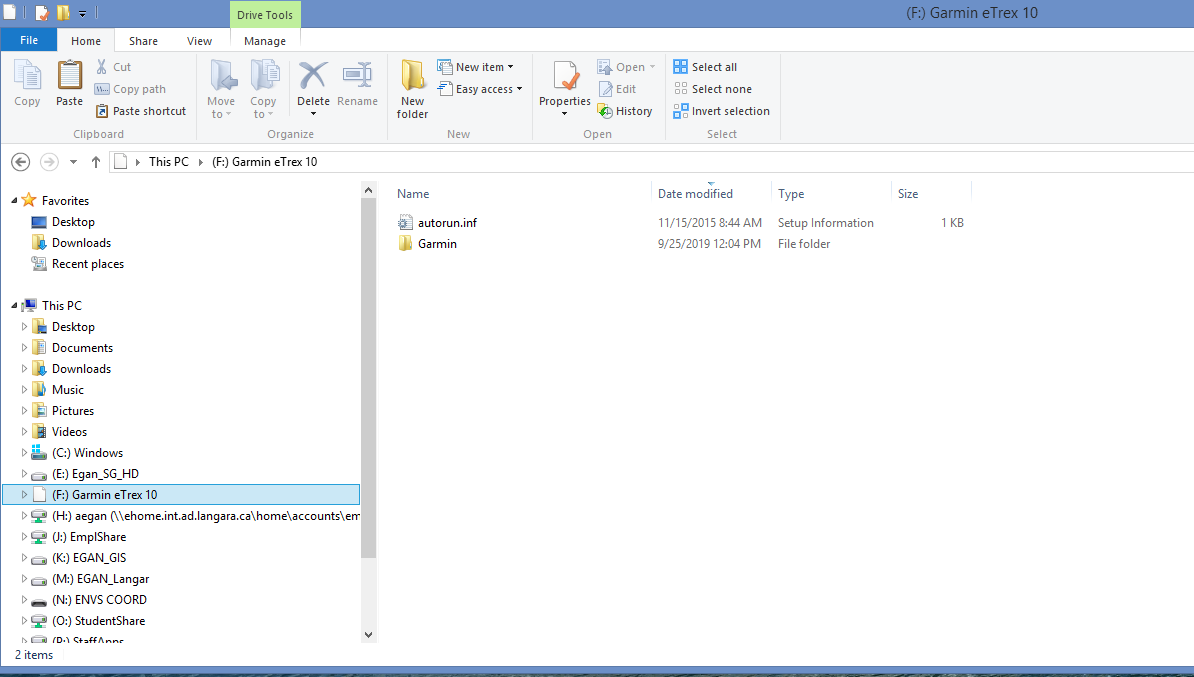
- Plug the GPS into the computers USB port using the cable provided
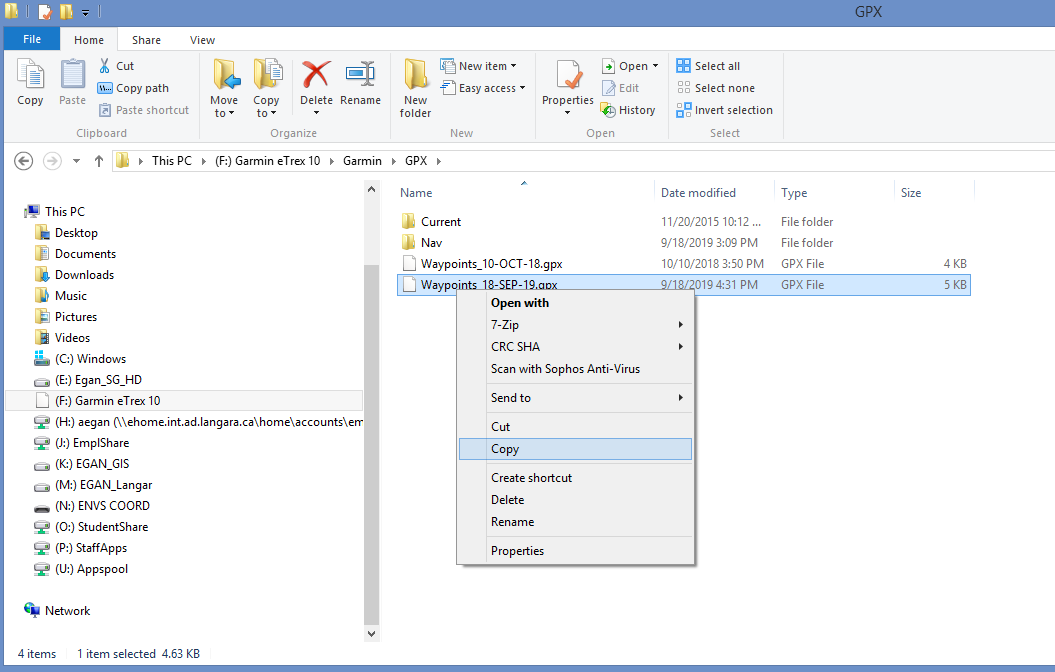
- Using file explorer, navigate to the GPS Garmin > GPX > file of waypoints (this is generally organized by date and time)
- Copy and Paste in QGIS data folder (you may want to create a New Folder for this, if you plan on doing it often)
- These steps can also be done through the Browser Panel
Step 2 – Opening GPX File in QGIS and Converting to Shapefile
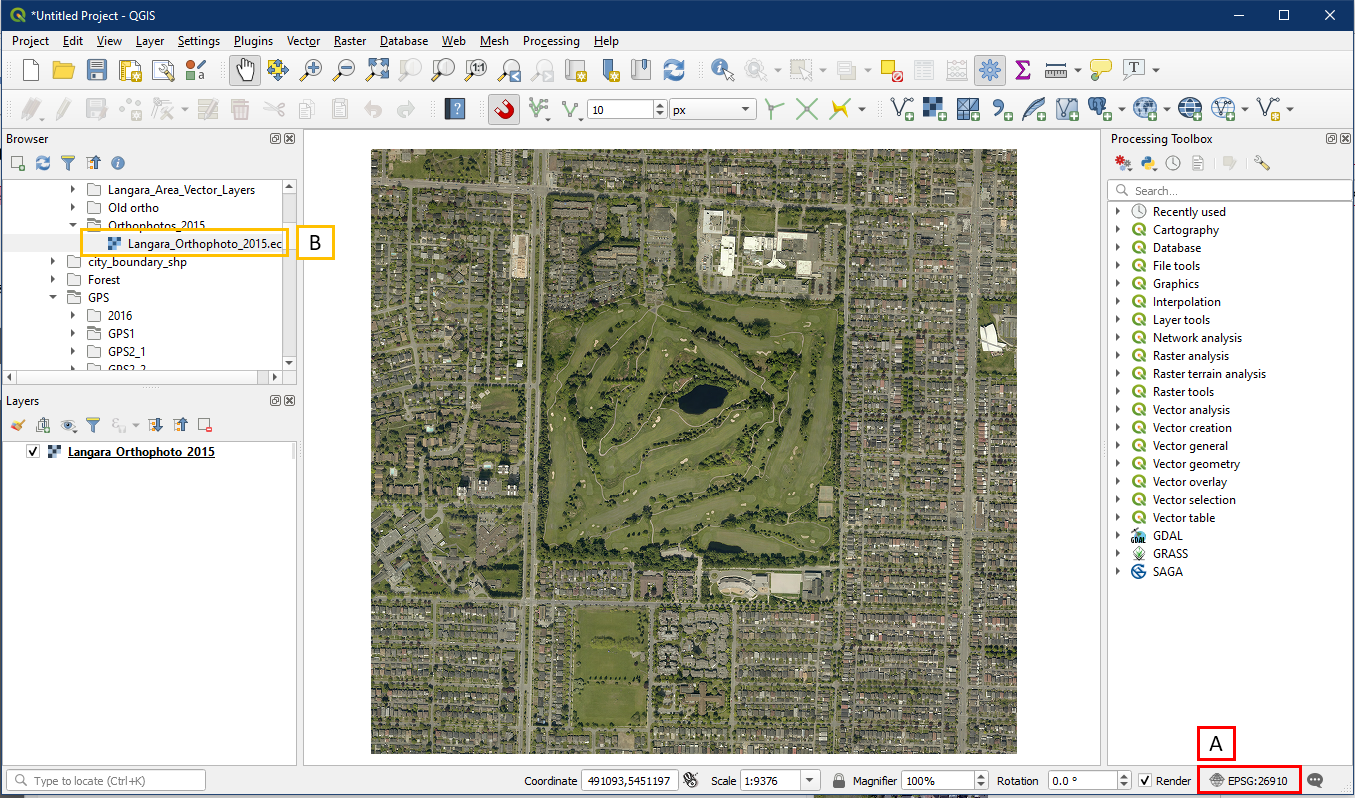
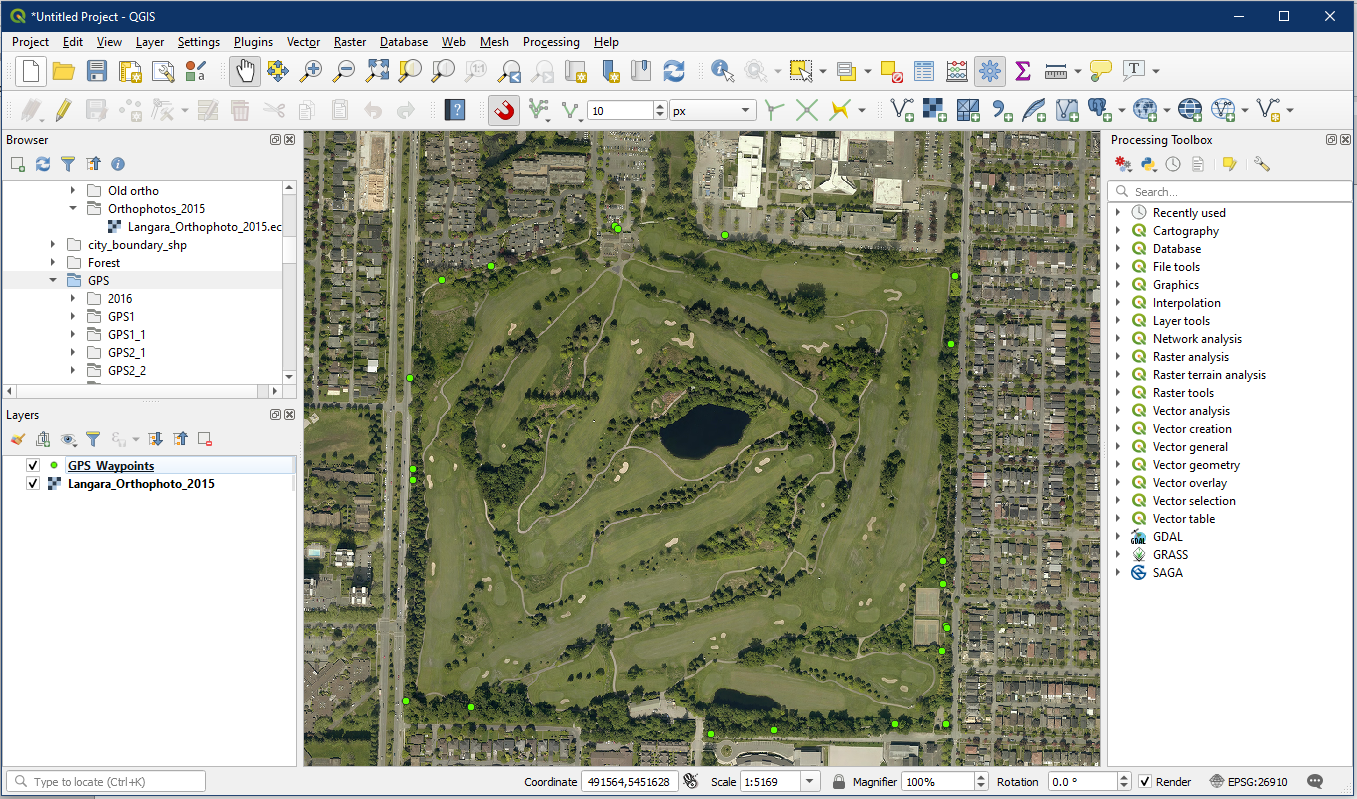
Open a blank project in QGIS. Ensure that the CRS for this project is set to EPSG:26910 in the Project Properties (A). Then add the Langara_Orthophoto_2015 raster layer.
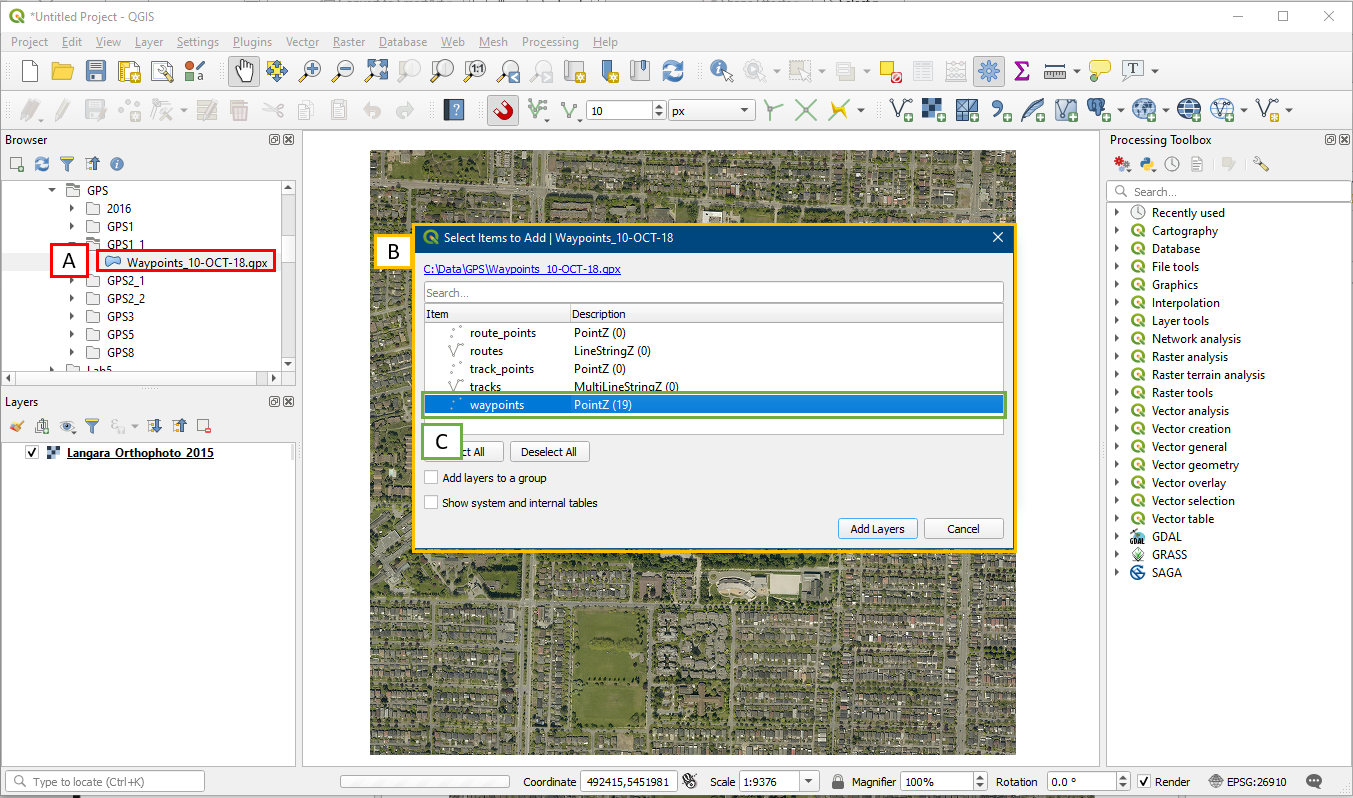
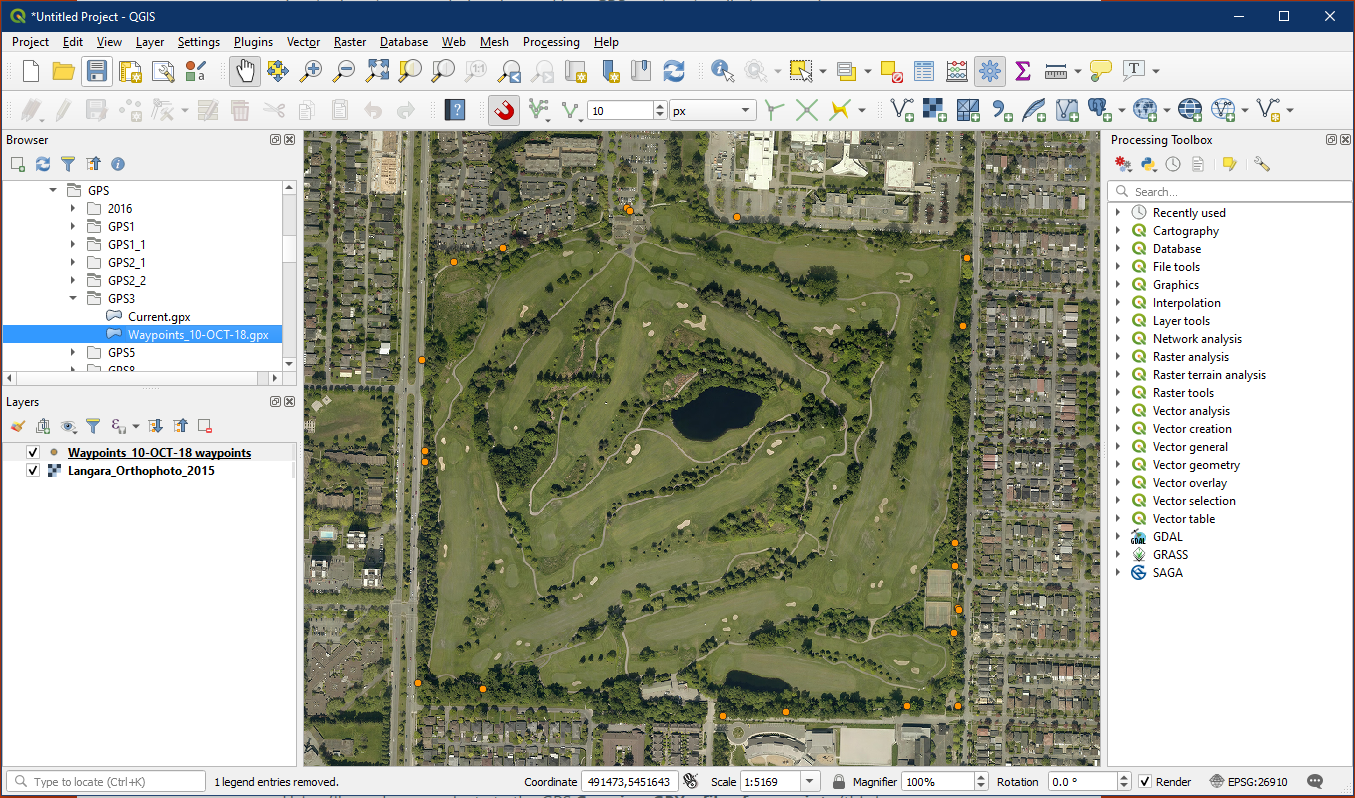
Now navigate to the folder containing your GPX file (A) in the Browser panel, and drag it onto the map. Doing this will open the Select Vector Layers to Add window (B), which shows several different layer types. Note that only the waypoints layer contains features, this is because we only used the GPS to record waypoints. Select the waypoints layer and click Add Layers. A “Select Transformation for layer” window may pop up, just click OK as well.
You will see the waypoints added as points in the Map Viewer
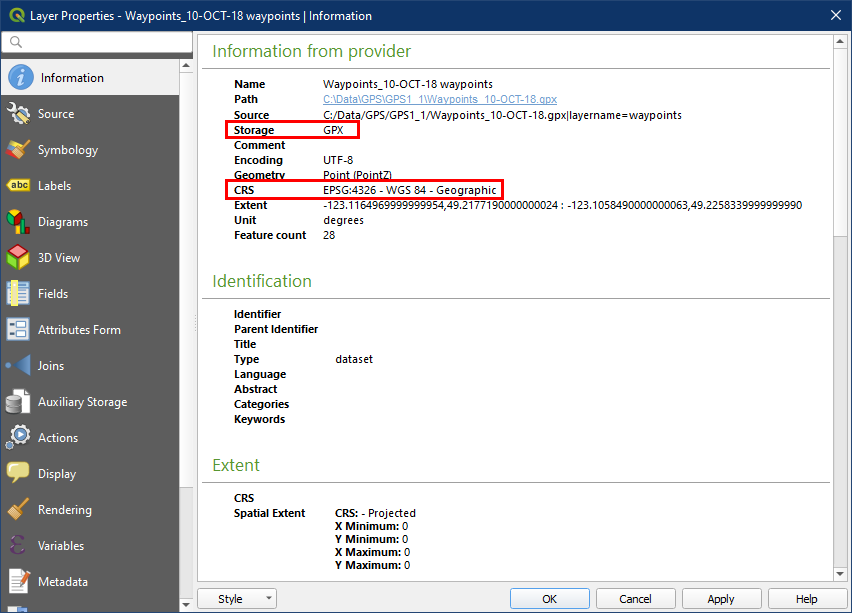
GPX files or waypoints are not properly formatted shapefile or vector features. Open the layer properties and we will see that this is still a GPX file. GPX files can’t be edited the same way as Shapefiles. Additionally, we see that the GPX has a different CRS than our project. So we will be converting this into a Shapefile that is in our project CRS.
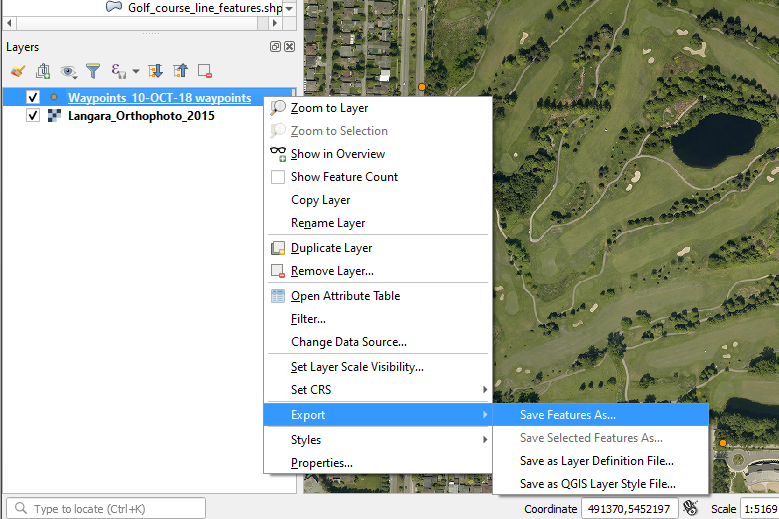
Right-click the Waypoints layer and choose Export > Save Features As.
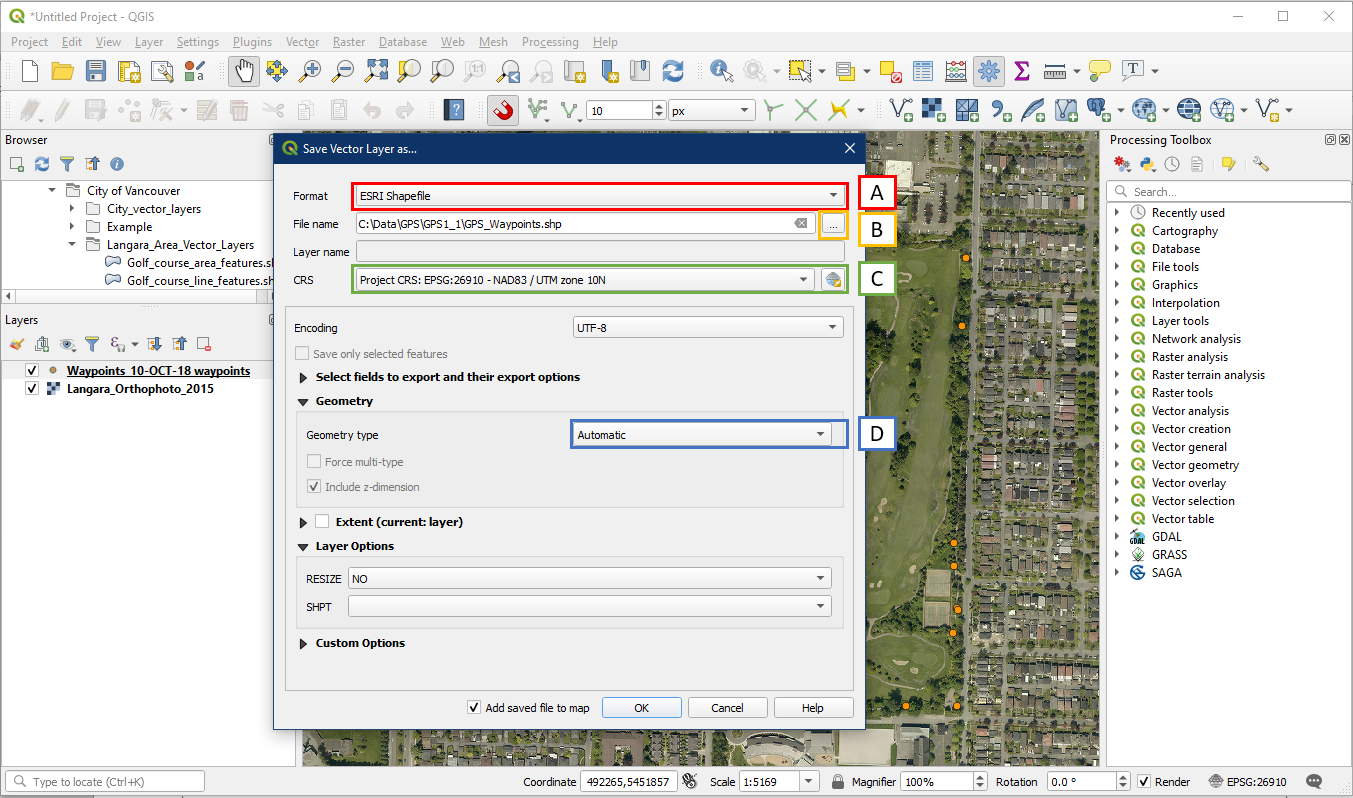
The Save Vector Layer window will appear. Do the following:
- Set the Format to ESRI Shapefile
- Choose a file name and folder location for your new Shapefile. Make sure to select the “…” button instead of typing into the File name box.
- Set the CRS to EPSG:26910 (same as our project)
- Ensure the Geometry type is set to Automatic. QGIS will automatically choose point/line/polygon based on the input layer. Click OK.
Your new Shapefile point layer should now appear as a new layer in the Layers panel and in your map. Make sure to remove the old GPX layer from the Layer panel.
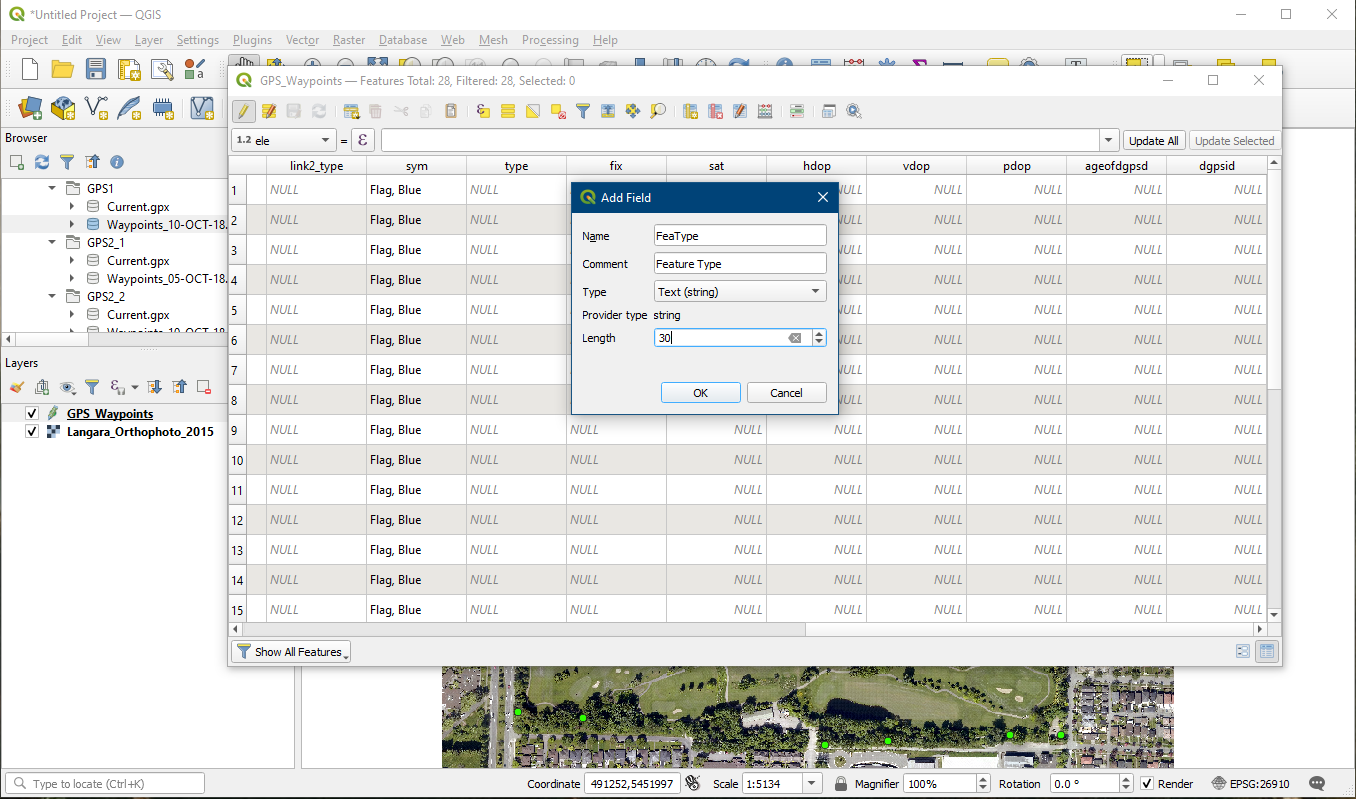
You now have a shapefile with points from around the Langara Golf Course. Open the attribute table and turn on editing (A), select New Field (B), then create new fields so you can fill in your field notes such as FeaType, FeaCode, and Comment. Text field type works fine with these.
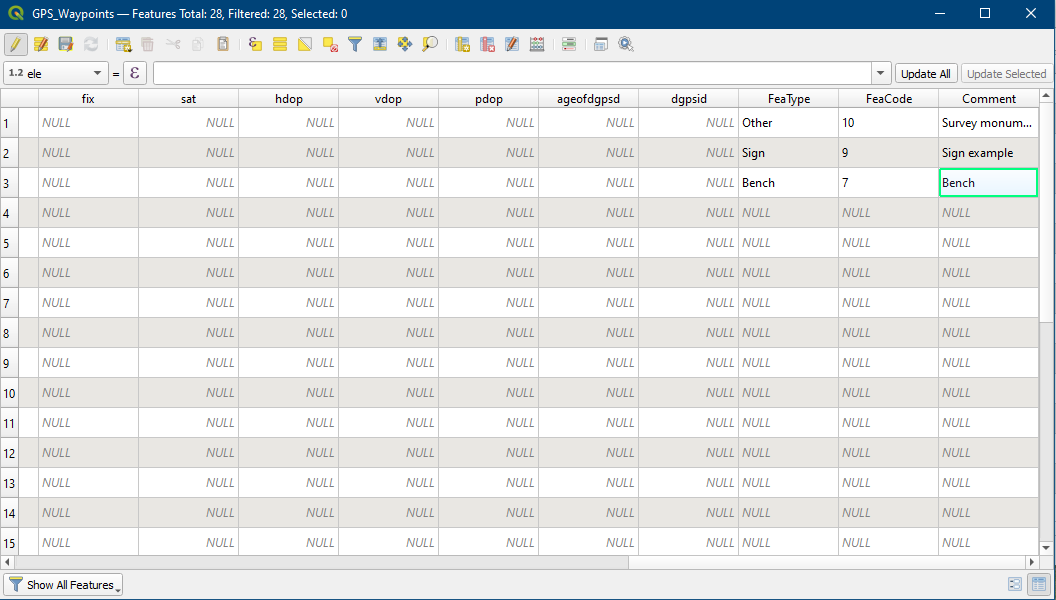
Once you populate the new field you created, such as Benches/Signs/Water Fountains within the FeaType field, you can then apply labels, or symbolize the layer based on the field (see Tutorial 9, Colour Classifications section).
Good work!!